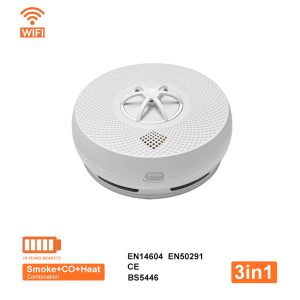
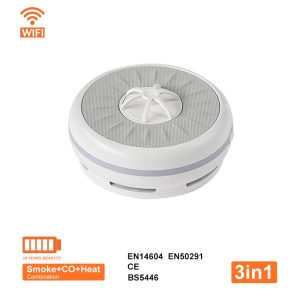
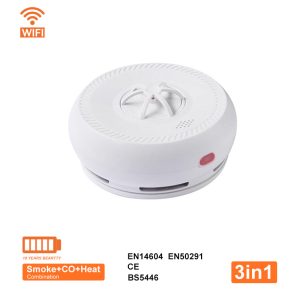
If your smoke alarm emits a short, intermittent beep (typically occurring every 30 to 60 seconds), it indicates that the device is alerting you to an issue requiring attention. Below, anka has compiled and shared a comprehensive troubleshooting guide featuring step-by-step solutions.

Common Causes of Smoke Alarm Chirping
1. Low Backup Battery
Signs: Single chirp every 30–60 seconds.
Most smoke alarms—even hardwired units—have a 9V or AA backup battery. When it’s low, the alarm chirps to remind you to replace it.
2. End-of-Life Alert
Signs: Consistent chirping even after battery replacement.
Smoke detectors are designed to last 7–10 years. An internal timer triggers the chirp when the unit expires.
3. Dust, Debris, or Insects
Signs: Irregular beeping or false alarms.
Dust or small bugs can block the sensor chamber, affecting detection accuracy.
4. Environmental Factors
Signs: Chirping during humid weather, after showers, or in cold temperatures.
High humidity or steam can be mistaken for smoke particles.
5. Poor Electrical Connection (Hardwired Units)
Signs: Intermittent beeping with new battery.
If the alarm isn’t fully seated or wiring is loose, the unit may lose power intermittently.
Quick Reference Table
| Symptom | Likely Cause | Quick Fix |
|---|---|---|
| Chirp every 30–60 sec | Low battery | Replace battery |
| Chirping continues with new battery | End of life (10+ years) | Replace entire unit |
| Occasional false alarms | Dust in sensor | Clean with vacuum |
| Chirping in humid weather | Environmental trigger | Improve ventilation |

Step-by-Step Troubleshooting Guide
Step 1: Replace the Battery
Swap the old battery for a fresh one. Use the type specified in your manual (usually 9V or AA).
Step 2: Clean the Alarm
Gently vacuum the vents with a soft brush attachment. Use compressed air to blow out dust.
Step 3: Perform a Reset
- Remove the battery
- Press and hold test button for 15–30 seconds
- Reinsert battery
- Reattach unit securely
Step 4: Check Expiration Date
Look on the back for manufacture date. If over 10 years old, replace the entire unit.
Step 5: Inspect Installation
For hardwired alarms, ensure unit is fully twisted into mounting bracket. Check wiring connections.
What to Do If Chirping Persists
- Replace the alarm – It may be faulty or expired
- Check interconnected alarms – One failing unit can trigger others
- Consult an electrician – For suspected wiring issues

Preventive Maintenance Tips
- Test monthly: Press test button to ensure functionality
- Replace batteries annually: Do it when daylight saving time changes
- Clean every 6 months: Vacuum alarms to prevent dust buildup
- Mark installation date: Write date on unit with permanent marker